Card Present Terminal via Other Browsers
*The application is supported on Edge, Google Chrome, Mozilla Firefox, Opera on Windows Operating System and Safari on MacOS.
Note
Users will need to download and install Magtek Software Package along with client certificate before making payments using Card Present Terminal.
In order to make a payment using Card Present terminal, the user will need to log in and select Transactions → Make A Payment from the navbar.
The only difference in the screen will be that a "Card Present" radio button will display.
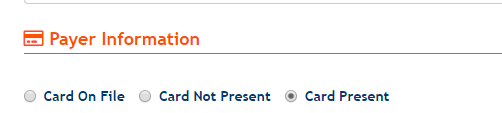
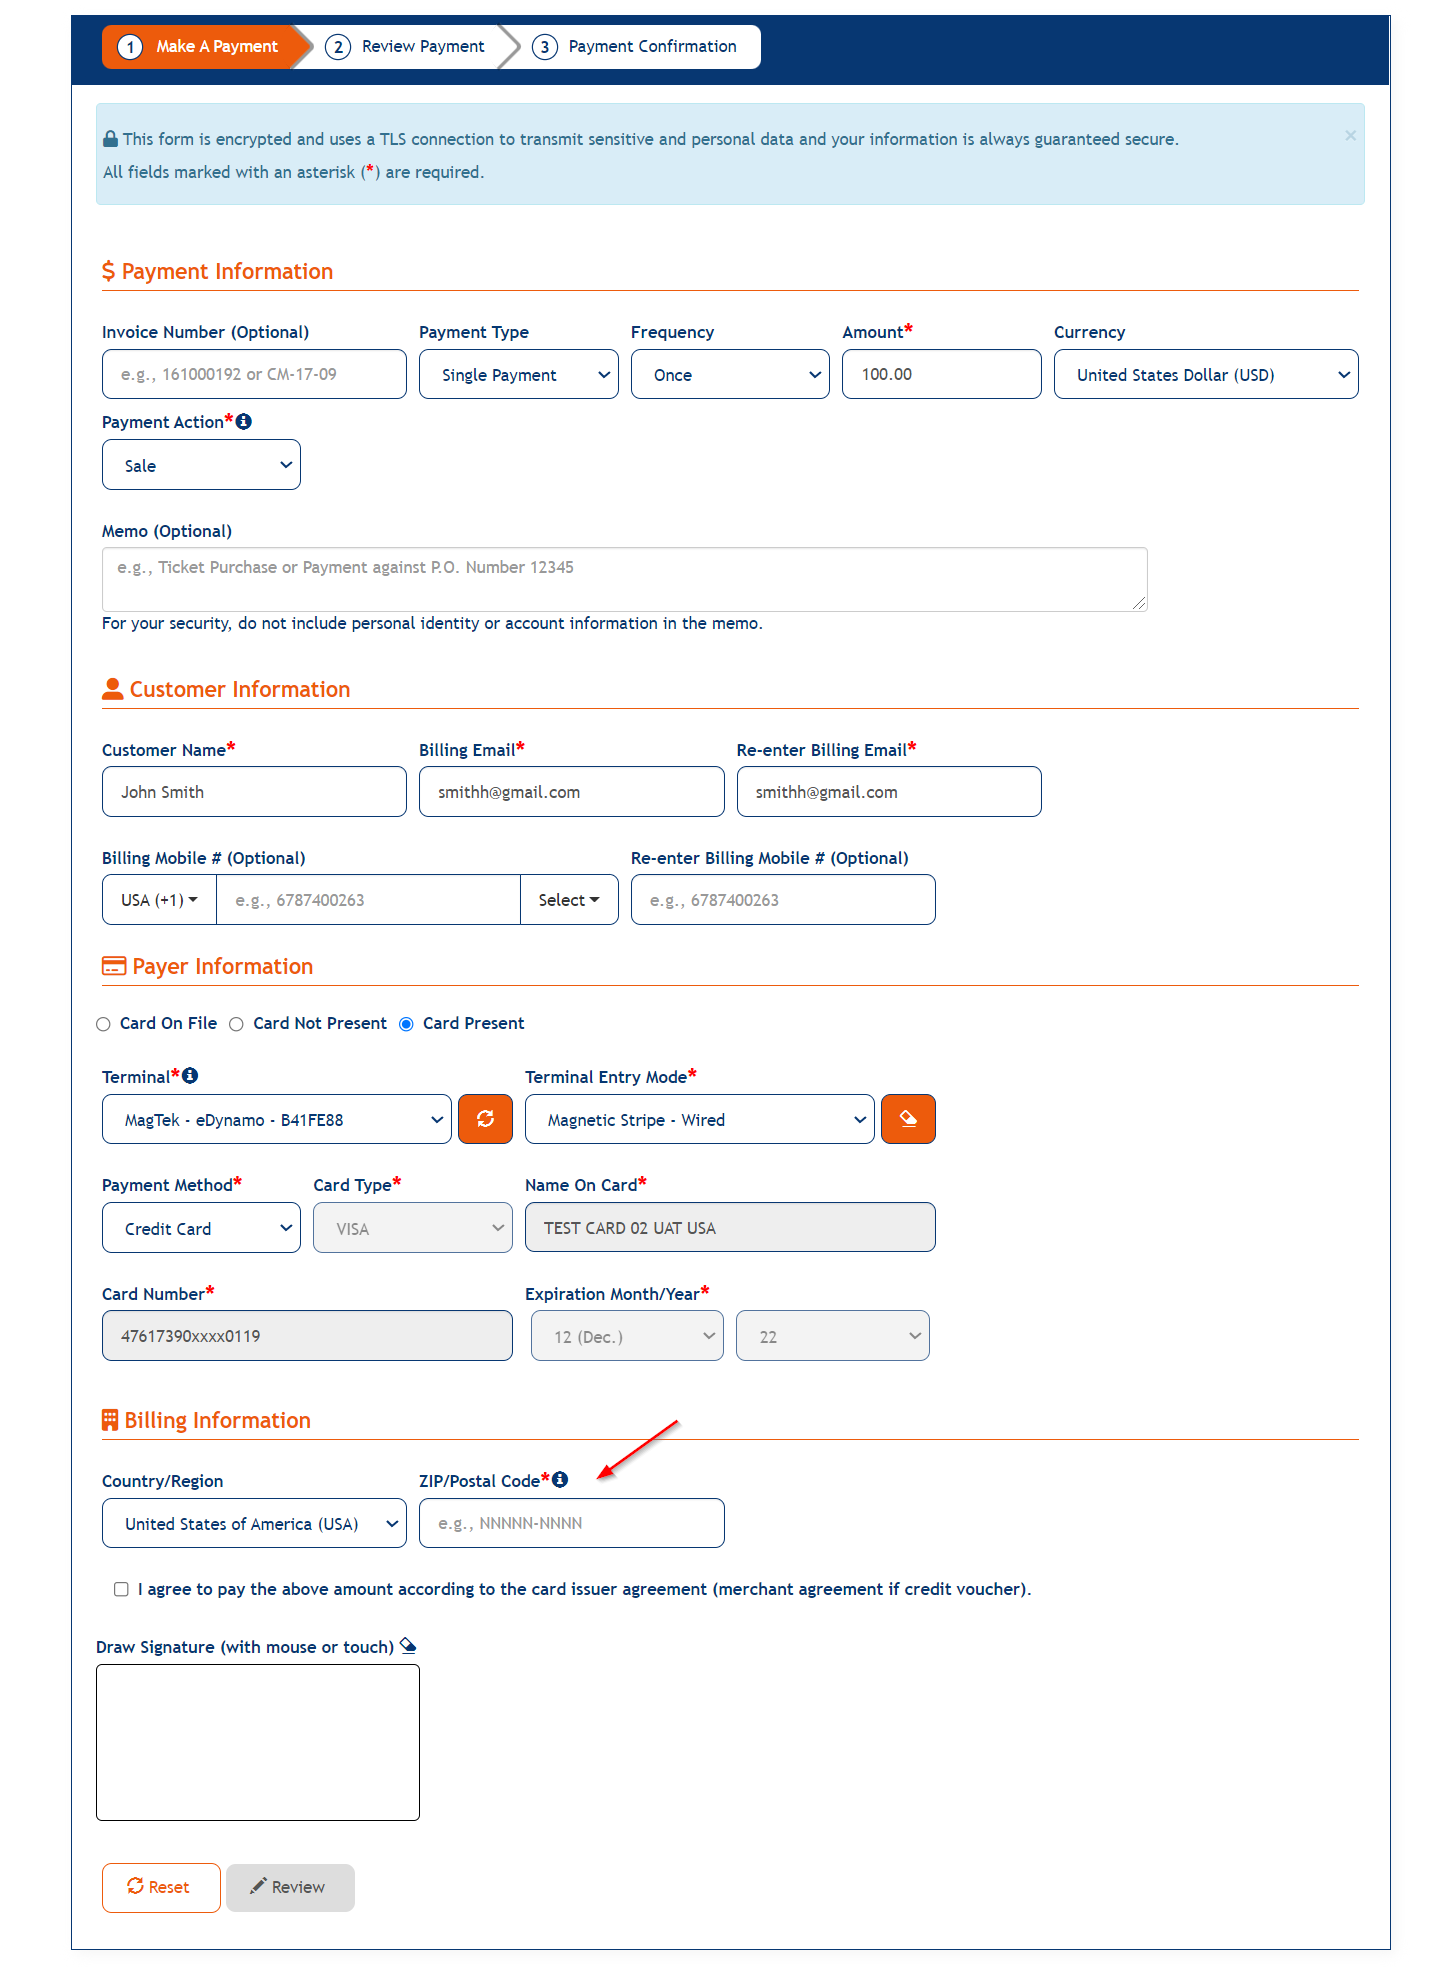
After selecting Card Present radio button the screen displays as follows and contains the following elements:
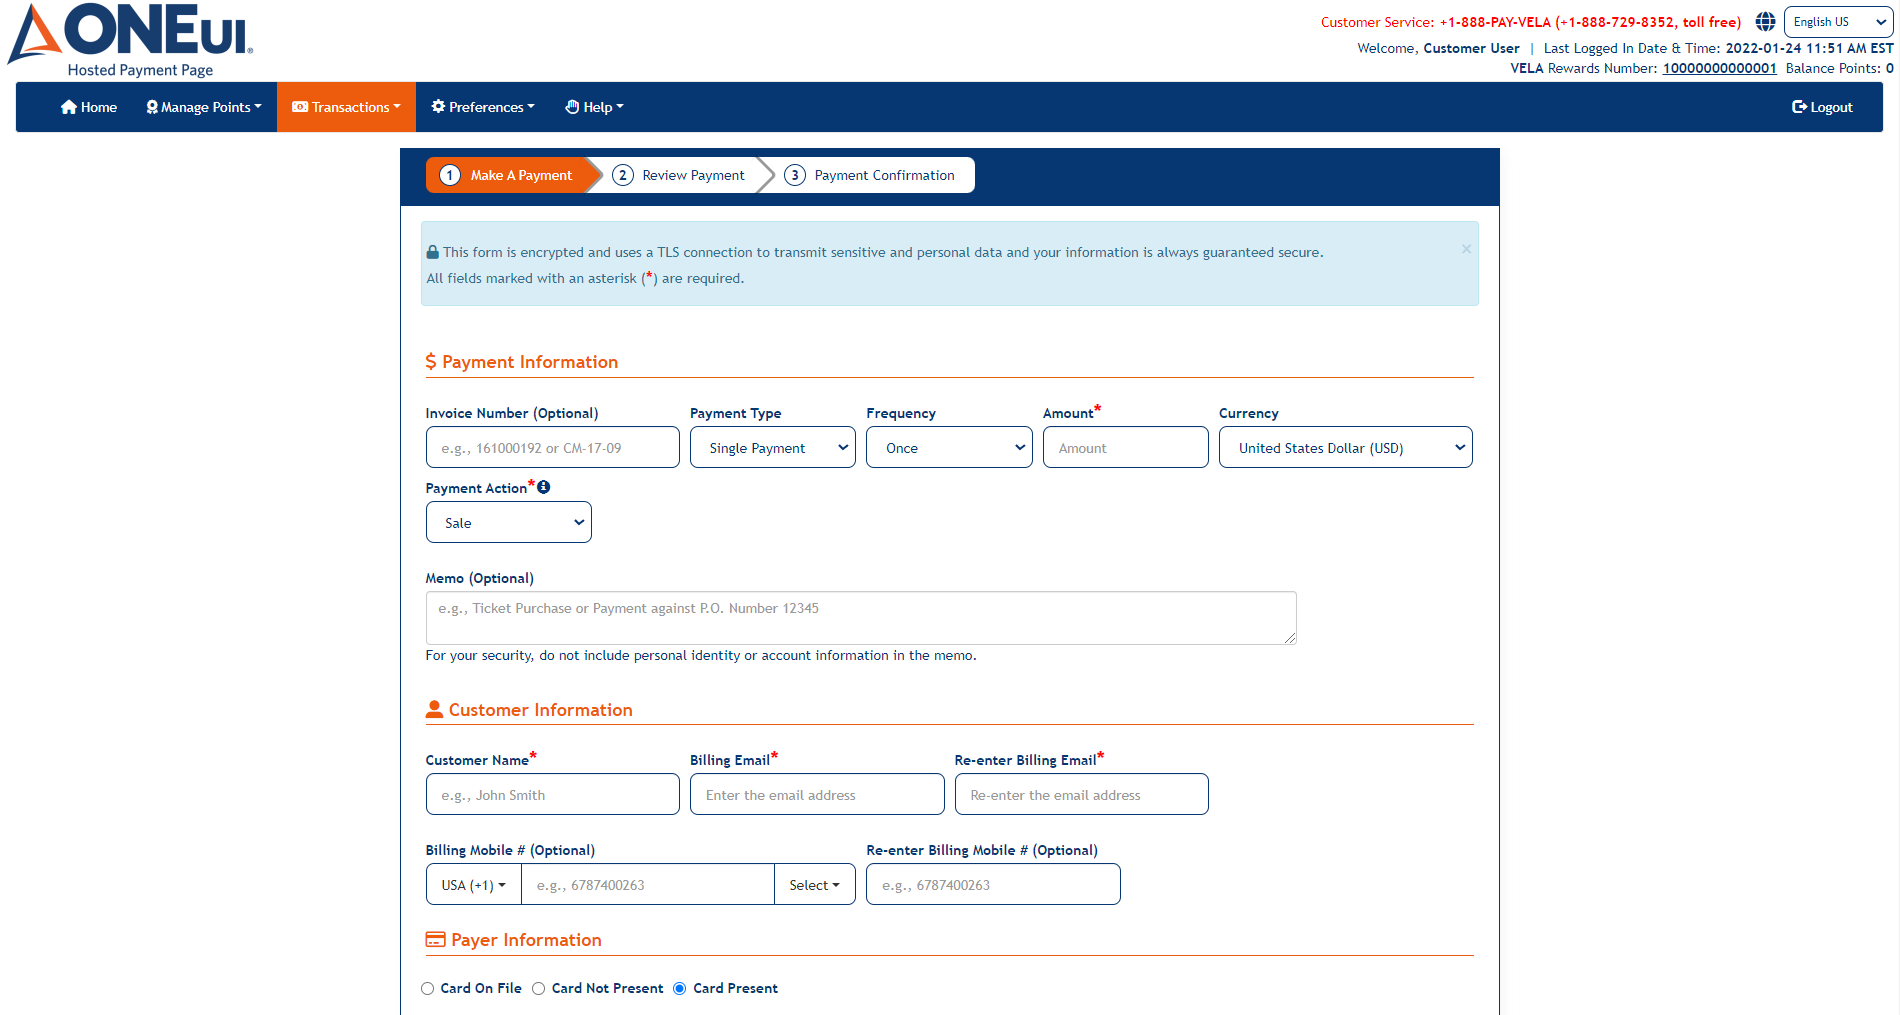
- Payment detail section where the user has to enter the Invoice number, Payment Type, Amount and select Currency and Payment Action.
- Payment Action — To select an action through which the the payment has to be processed.
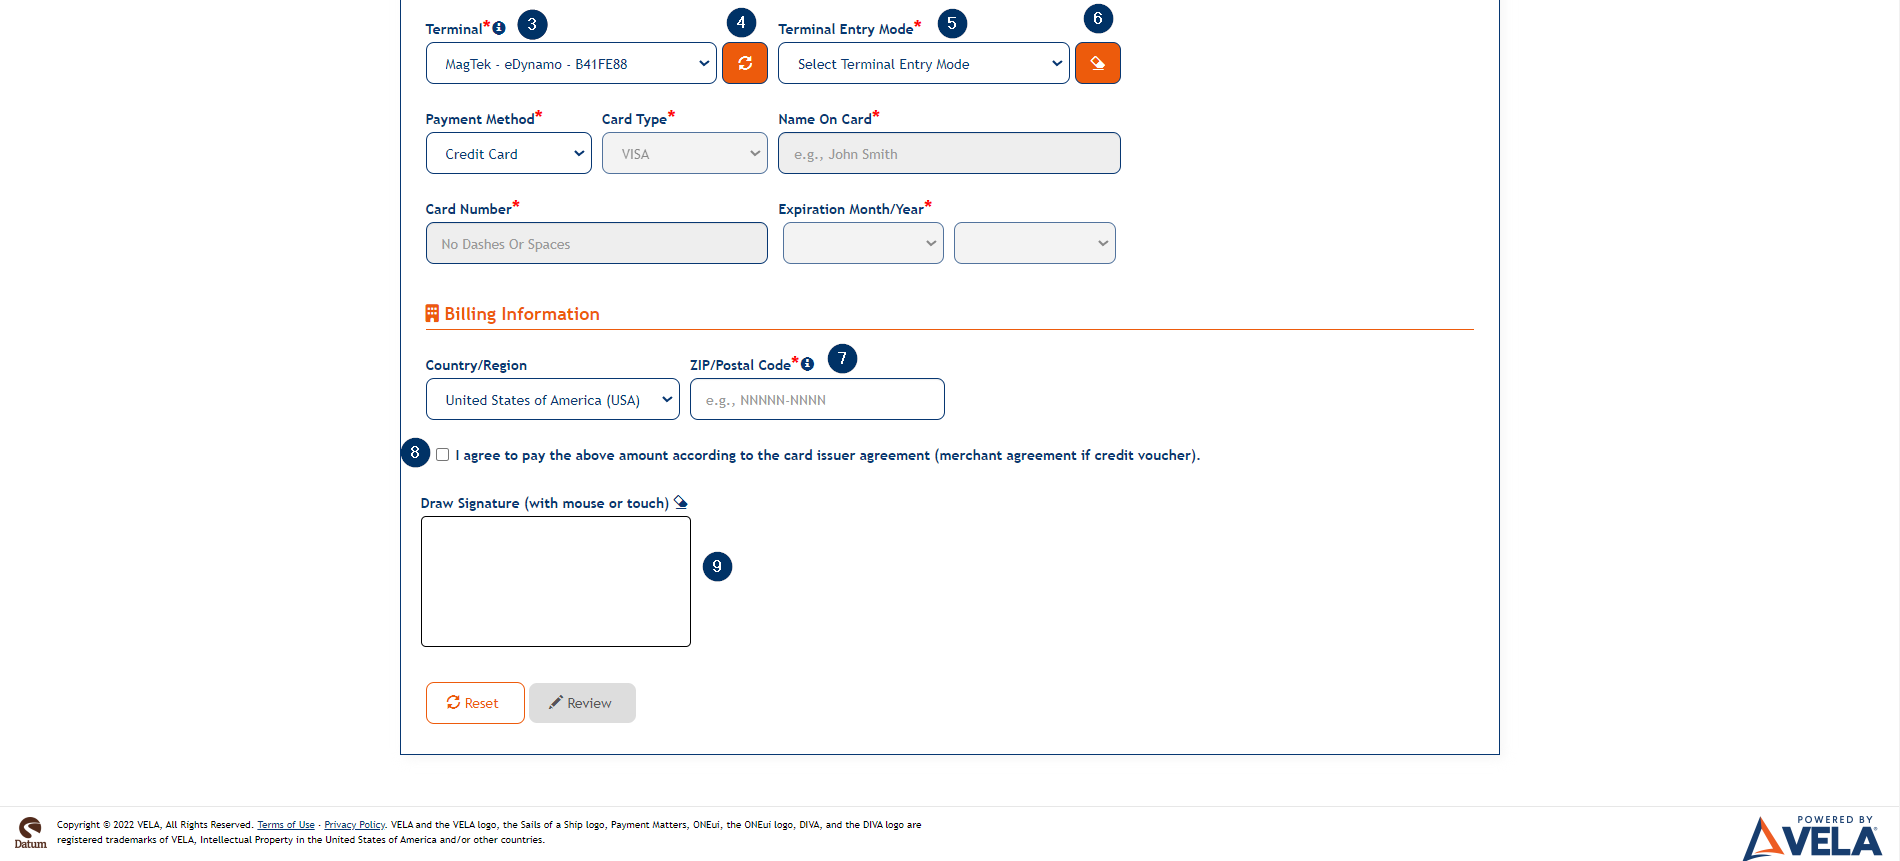
- Terminal — Drop-down to select a Terminal.
- Refresh — Button to refresh the device list, if the connected device is not found.
- Terminal Entry Mode — Once the user selects the Terminal, the Terminal Entry Mode drop-down displays with related options from which user has to select the mode of payment i.e., Magnetic Stripe, EMV etc.
- Clear Payer Information — Button to clear the card details when the payment fails or when an error occurs etc.
- Zip/Postal Code — Field to enter the Zip code.
- Checkbox to agree the terms and conditions for the payment being made.
- An electronic signature box to be signed by the user.
Note
The Terminal drop-down gets displayed only with the connected devices for eDynamo and with all active devices for DynaPro Go. If only one eDynamo device is connected to the machine then the drop-down auto populates with that device name.
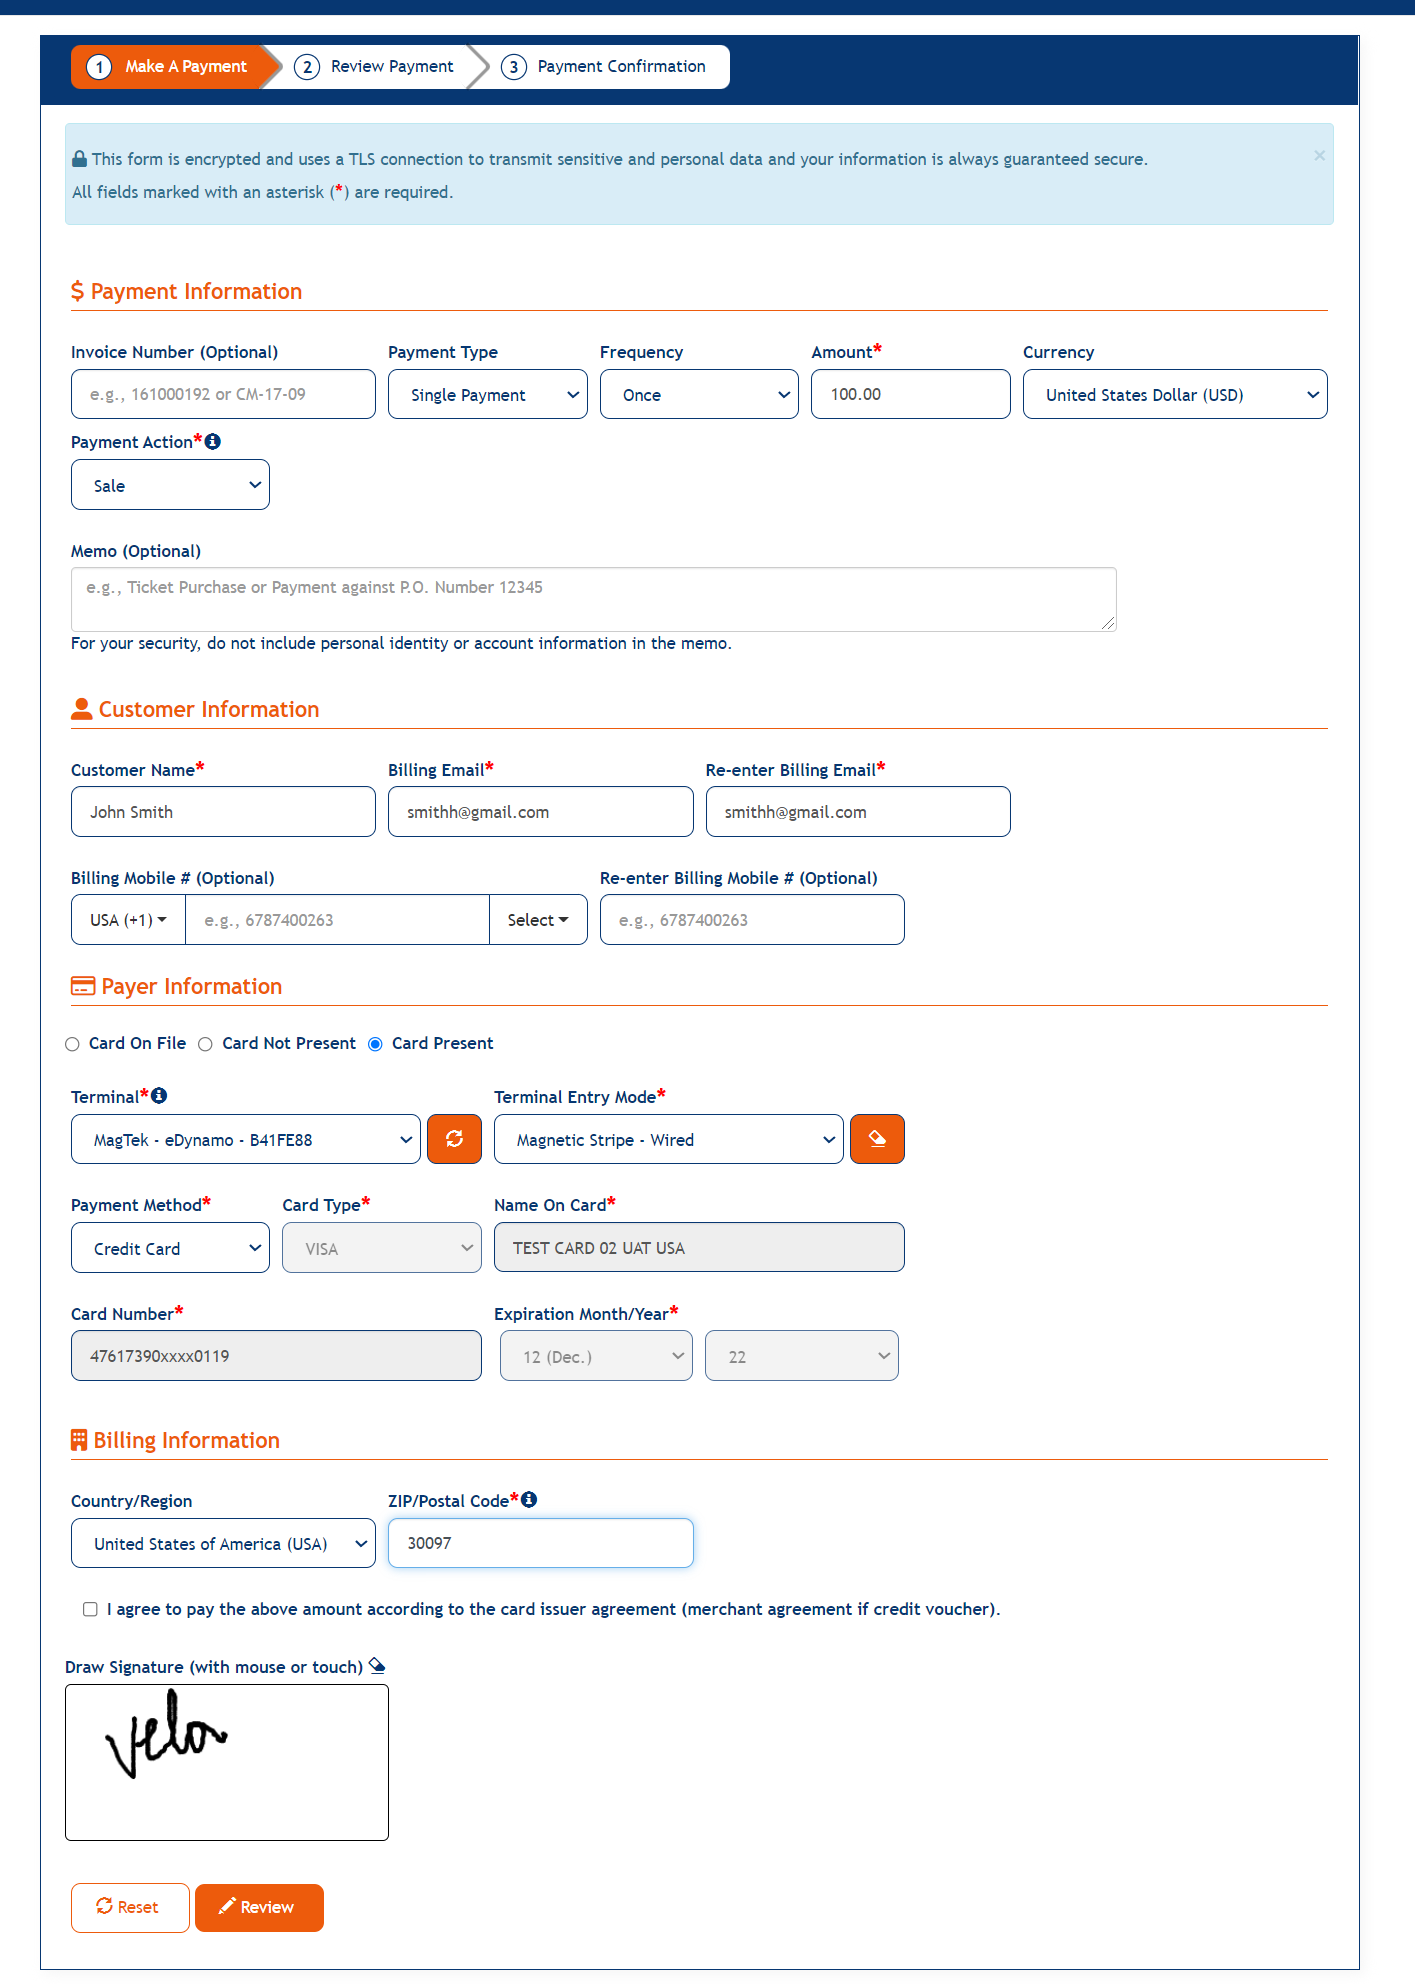
After selecting the Terminal and Terminal Mode the user is prompted to swipe the card if the user selects Magnetic Stripe option under the Terminal Entry mode drop-down.
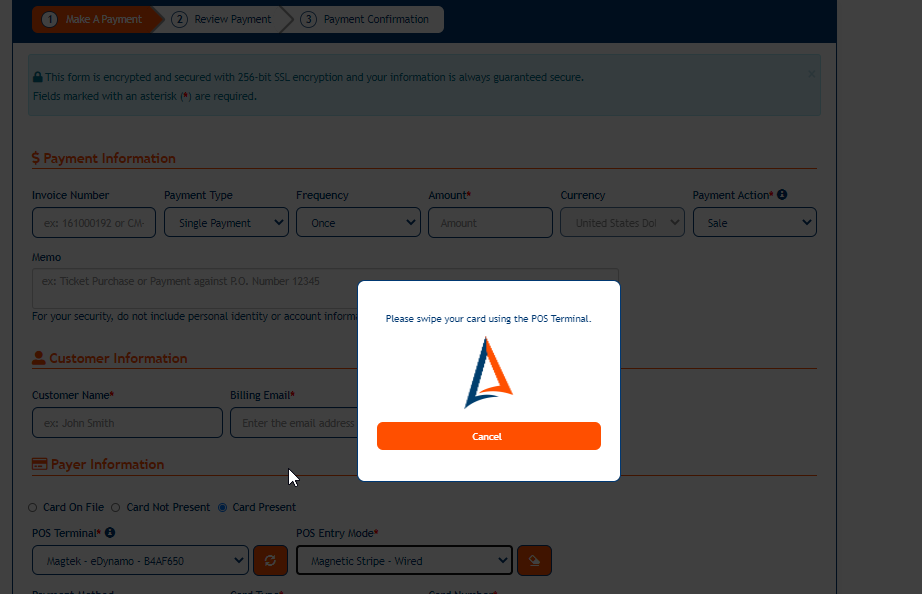
Swiping the card will fill the dropdowns and fields on the Make A Payment screen with data read from the card and the fields are disabled.
The user has to enter the Zip/Postal Code in the respective field to get the Review button enabled.
The user can also select the agreement checkbox and draw the signature in the Signature box, which will be reflected in the Receipt Print as well. However, selecting the checkbox and making electronic signature is optional and is not required.
EMV Payments
The workflow is same for the EMV cards as well except that the user has to select the option of EMV Contact in the Terminal Entry Mode drop-down.
The user is prompted to insert the card once he/she selects the Entry mode as below:
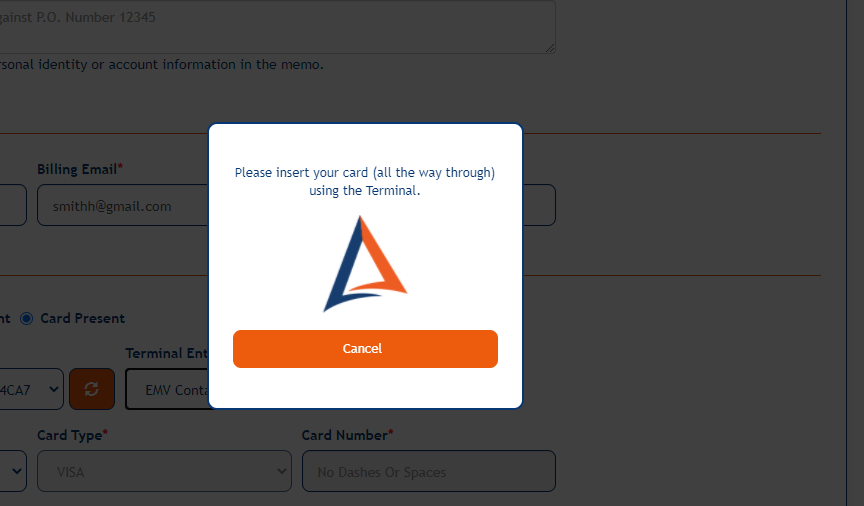
The card data is read and the fields will get populated with the card information.

The process of submitting a Card Present terminal payment is the same as submitting a "normal" (i.e., online terminal) payment.
- Click the Review button to go to the Review Payment screen.
- Review the payment; click Modify to go back to the Make A Payment screen.
- Click the Confirm button on the Review payment screen.
- Click Confirm & Save to save the card for future use
If the card data is not read from the device when the user swipes a card, then an error messages get displayed once the user swipes or inserts the card and the user is not able to complete the payment.

Updated As Of Version 5.0.0.8